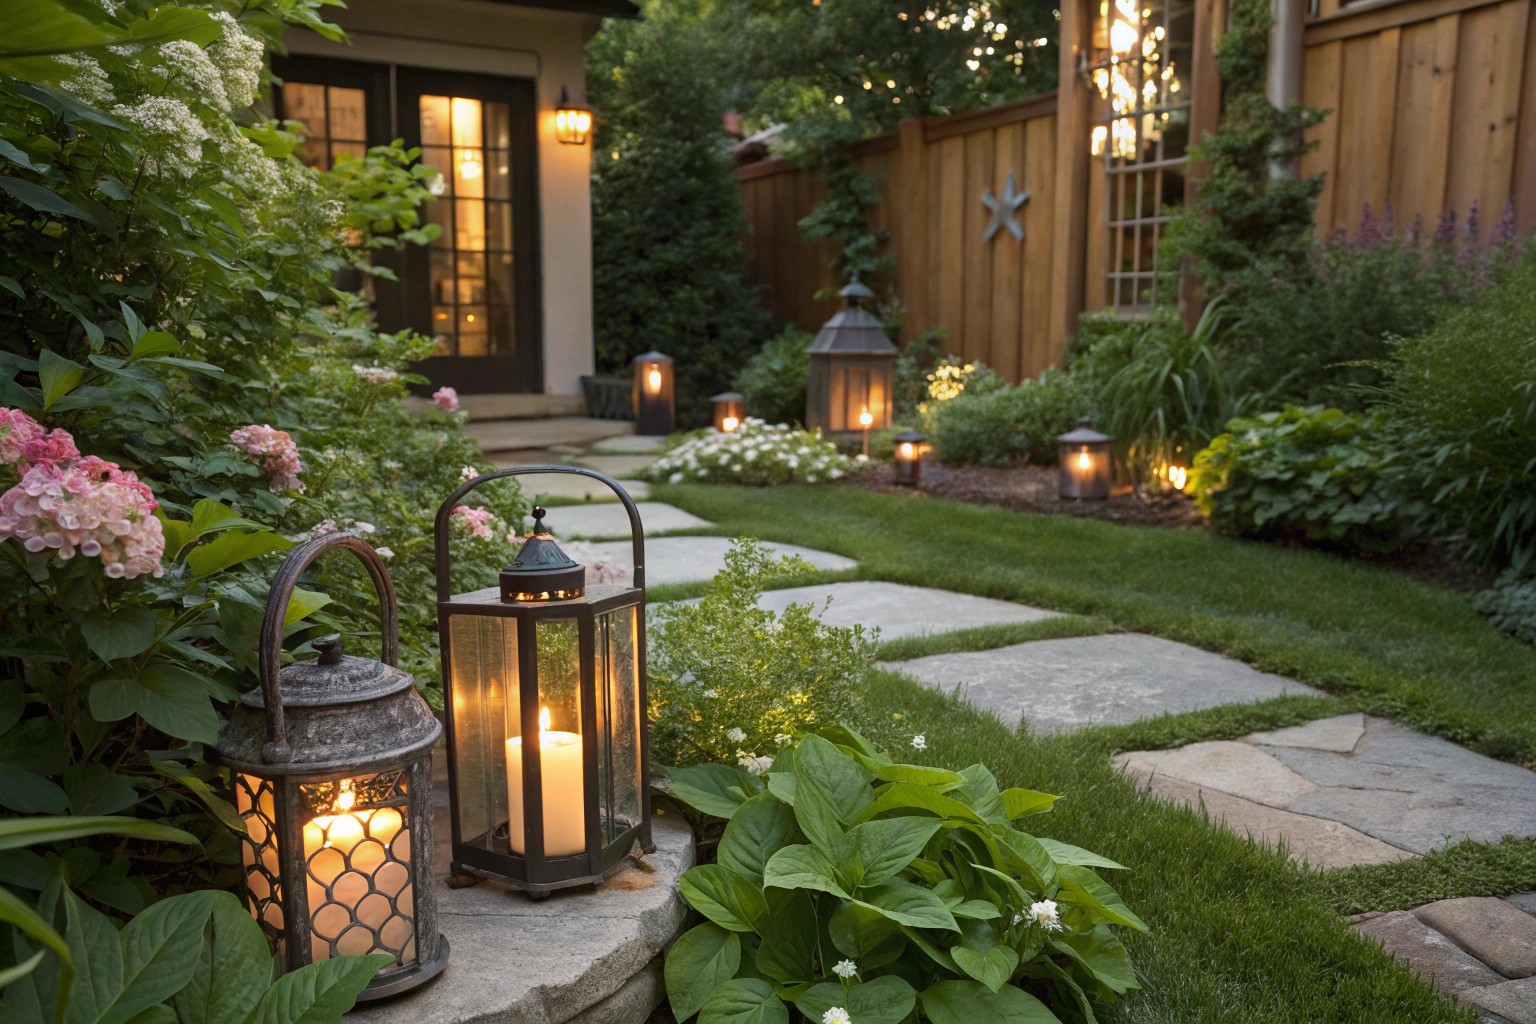
Creating beautiful outdoor ambiance doesn’t require expensive fixtures or professional installation. By repurposing common household items, you can craft stunning lanterns that transform your garden into an enchanting evening retreat while embracing sustainable design principles.
Material-Based Lantern Techniques
Tin Can Lanterns: The Foundation of Upcycled Lighting
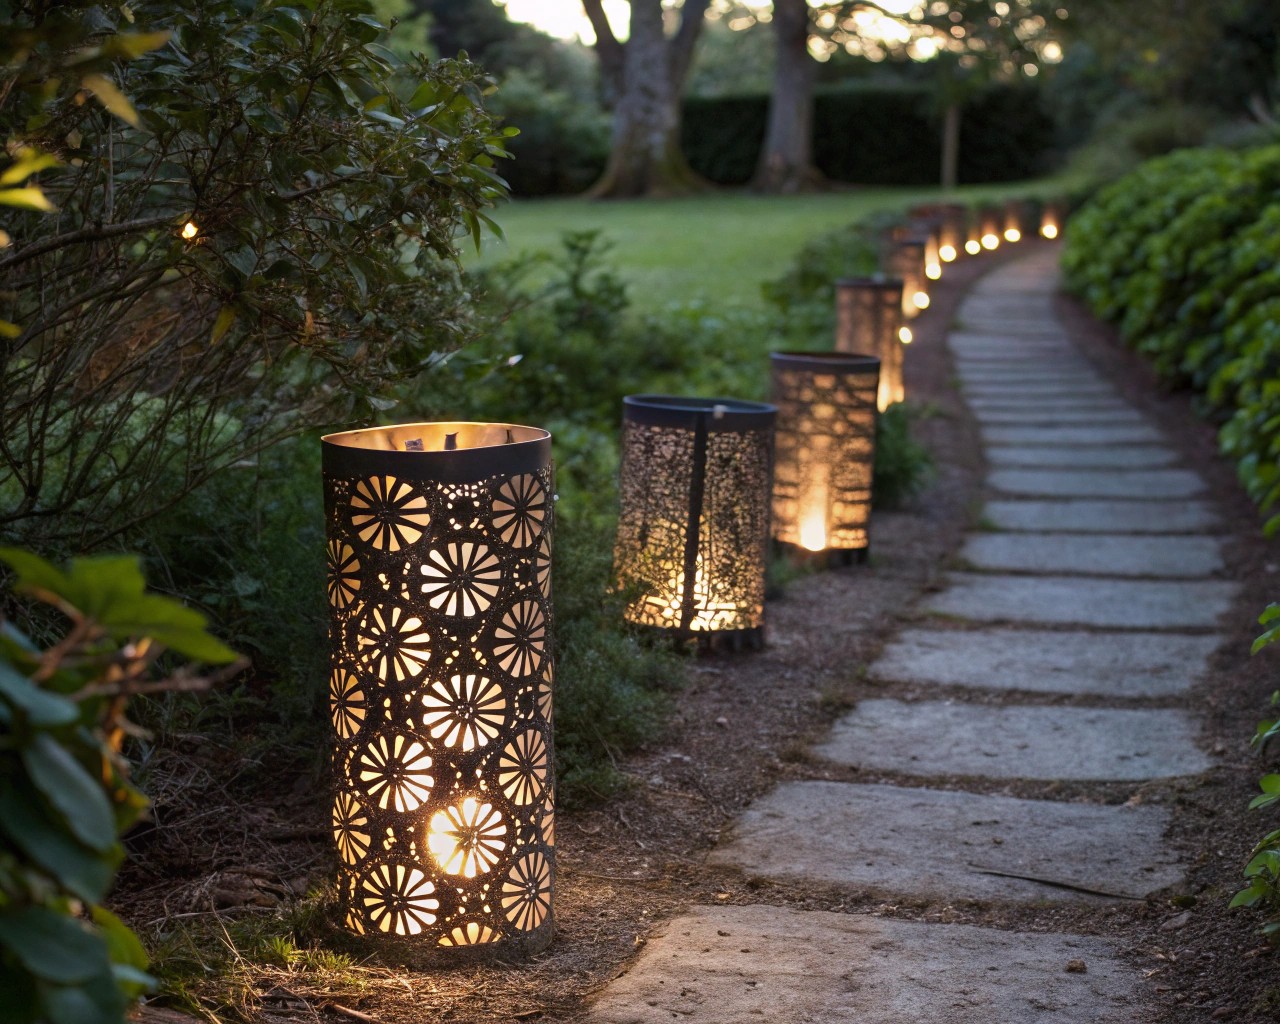
Tin can lanterns represent one of the most accessible entry points into DIY outdoor lighting, requiring minimal tools while delivering maximum visual impact. The fundamental technique involves creating decorative perforations that cast intricate light patterns while providing adequate illumination for pathways and seating areas.
Essential Preparation Method
The key to successful tin can lantern construction lies in proper preparation of the metal container. Fill the cleaned can almost to the top with water and place it in the freezer until completely frozen. This creates a solid backing surface that prevents the can from deforming during the punching process while providing the resistance needed for clean, precise holes.
Design Implementation Strategies
I’ve found that pre-planning your design significantly improves the final result. You can mark out patterns directly on the can with a pen, tape a paper template to the surface for guided punching, or create random hole patterns for a more organic light distribution. The distance between holes affects both structural integrity and light output—closer spacing creates more dramatic light effects but may weaken the can structure.
For enhanced visual appeal, consider decorating the rim with colored beads threaded onto wire and secured through small holes at the back of the can. This technique allows the lanterns to maintain aesthetic value even when unlit, extending their decorative function throughout the day.
Glass Container Transformations
Mason Jar Solar Integration
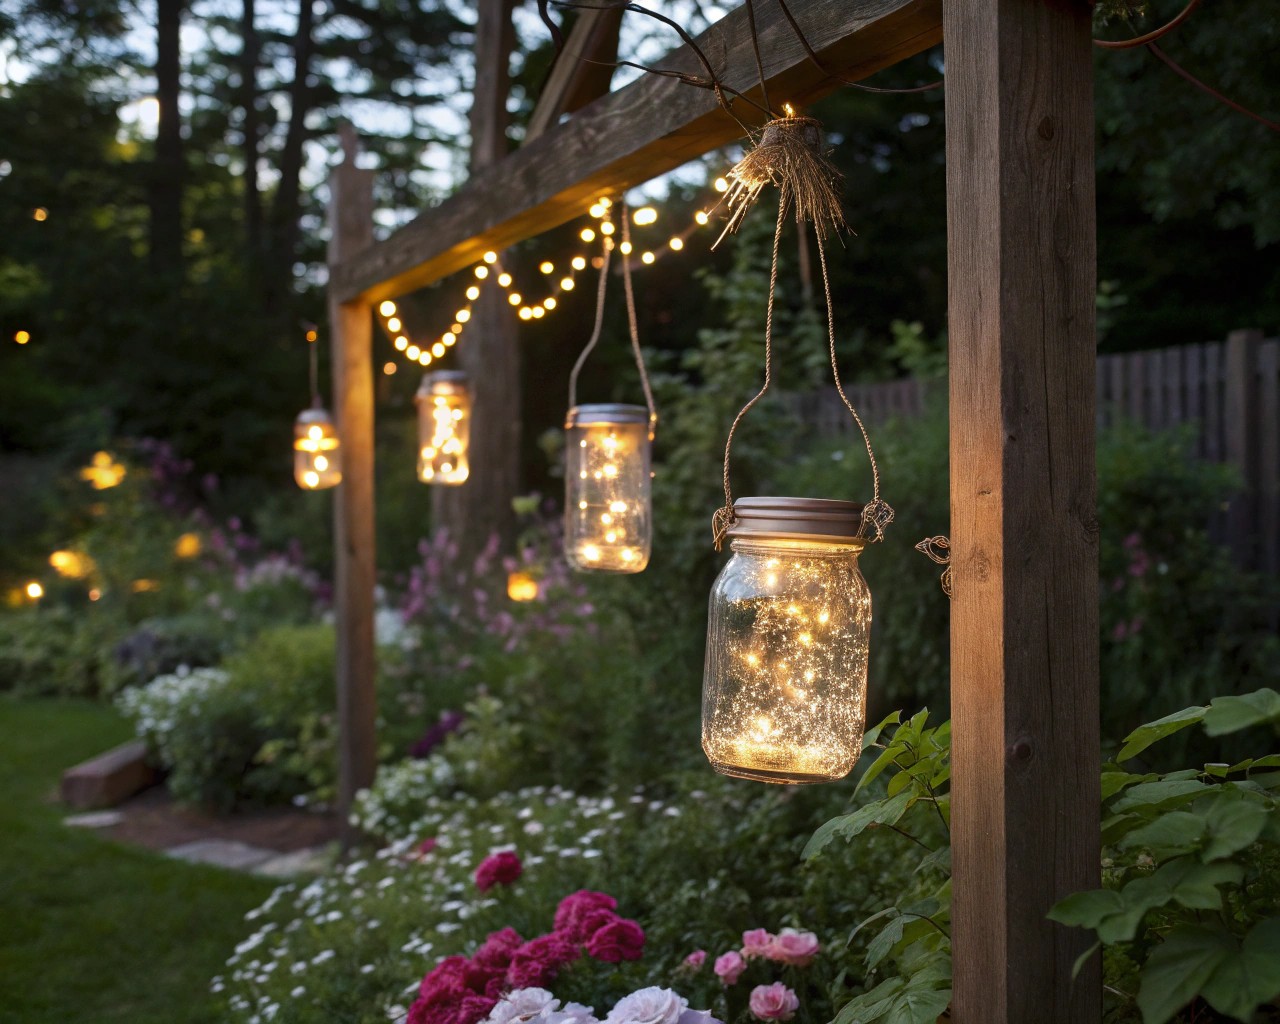
Solar-powered mason jar lanterns offer the perfect solution for low-maintenance outdoor lighting that operates independently of electrical infrastructure. The technology has advanced significantly, with quality solar LED lids now available for under $15, making this approach both economical and environmentally responsible.
Component Selection and Assembly
Choose quart-size mason jars for optimal light distribution and battery capacity accommodation. The larger volume provides better stability in windy conditions while offering more space for decorative elements. When selecting solar lids, prioritize units with separate solar panels rather than integrated designs, as they typically offer superior charging efficiency and longer operational periods.
Position these installations in locations receiving at least six hours of direct sunlight daily. Insufficient solar exposure results in weak illumination and shortened operational periods, diminishing the overall effectiveness of your lighting scheme.
Wine Bottle Lantern Systems
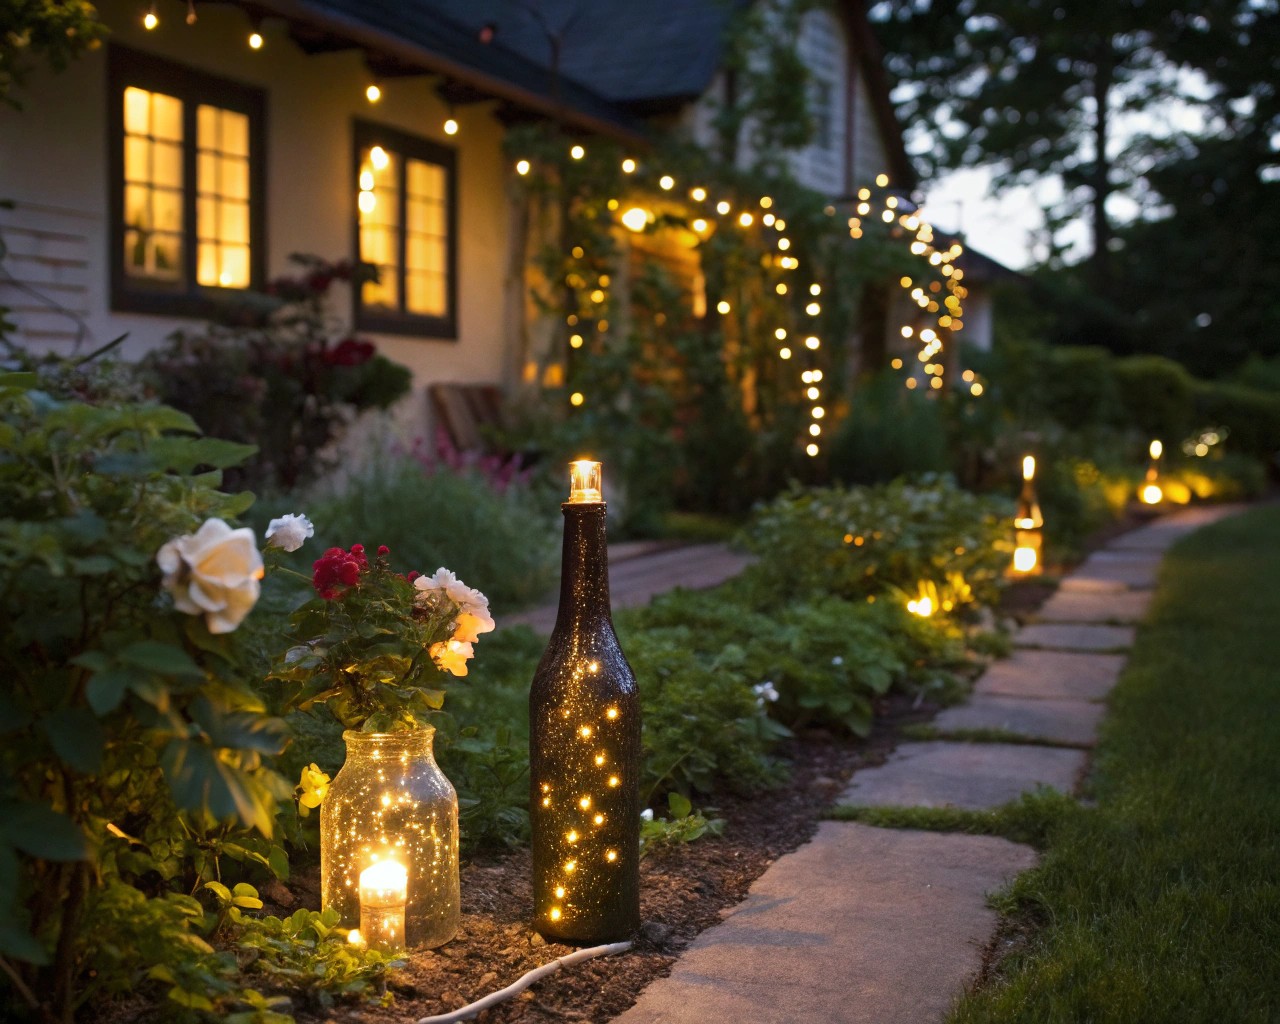
Wine bottles offer exceptional versatility for lantern construction, supporting both hanging and tabletop configurations. The inherent elegance of wine bottle glass creates sophisticated lighting effects that complement both casual and formal outdoor settings.
Hanging Configuration Method
Create a hanging wine bottle lantern by fashioning a wire coil that accommodates votive candles or tea lights. Bend heavy-gauge wire to form a supporting loop that won’t slip through the bottle neck, then create a candle platform within the bottle. This design allows for easy candle replacement by sliding the bottle up the wire, placing or lighting the candle on the coil, then sliding the bottle back down for protection.
Safety Considerations for Open Flame Systems
Temperature management represents a critical safety factor in wine bottle lantern design. Votive-sized candles generate sufficient heat to make glass bottles dangerously hot to touch, while tea lights produce only gentle warming. For installations in high-traffic areas or where accidental contact is possible, limit candle size to tea lights or consider battery-operated alternatives.
Fuel-Based Lantern Systems
For extended burning times and weather resistance, wine bottles can be converted into fuel-burning lanterns using readily available hardware components. Insert a copper coupling wrapped with Teflon tape into the bottle neck to create a secure fuel reservoir. Fill the bottle with either a 50/50 mixture of water and olive oil or commercial citronella torch fuel, depending on your mosquito control requirements.
Plastic Container Applications
Large Container Systems
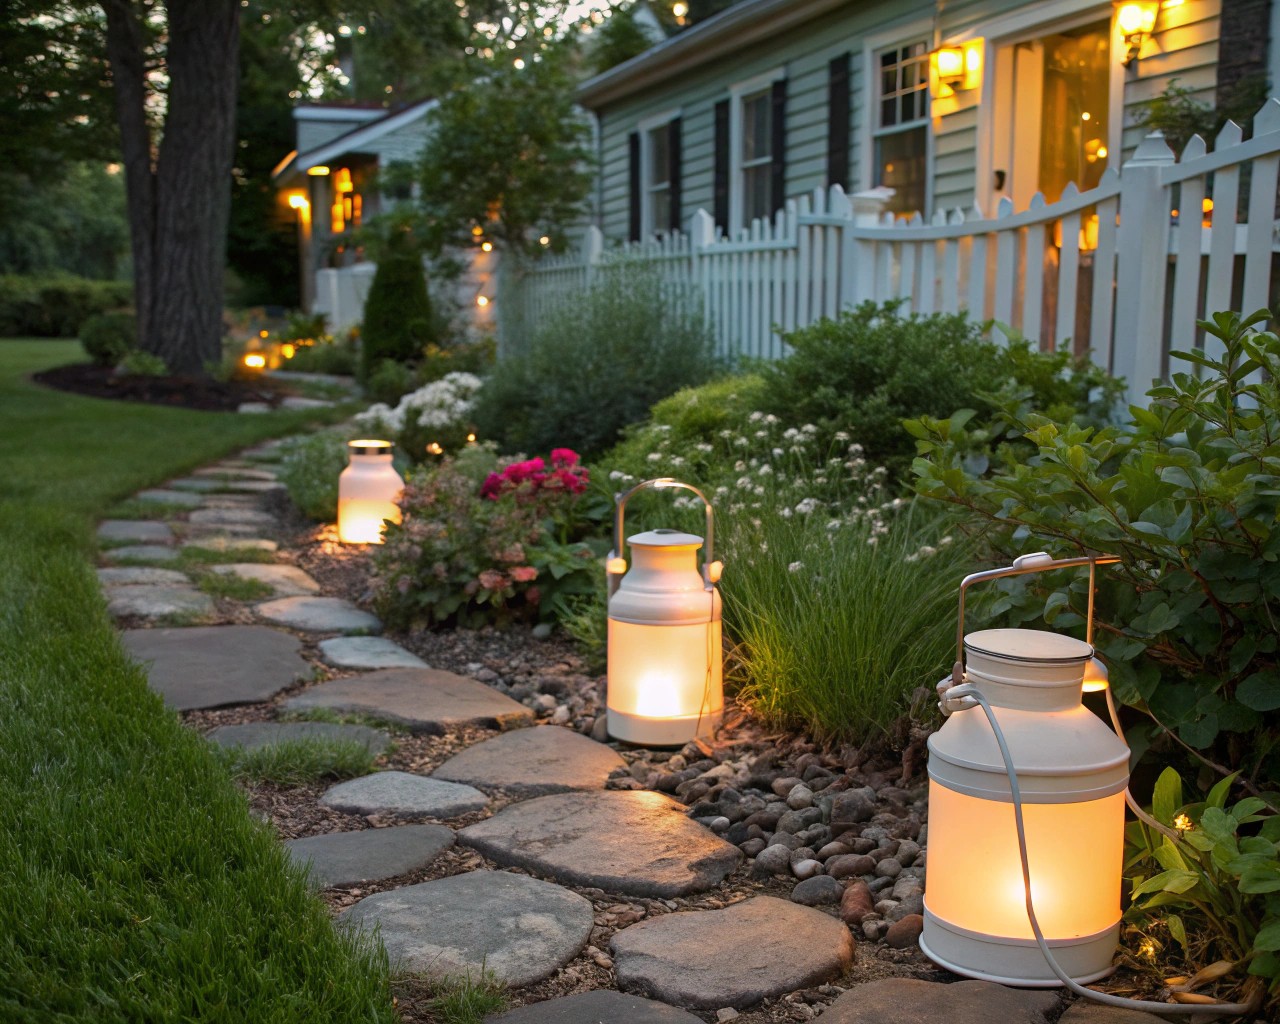
Milk jugs and similar large plastic containers excel in creating substantial light fixtures suitable for pathway marking and area illumination. The translucent nature of milk jug plastic provides excellent light diffusion while the generous interior volume accommodates multiple light sources for increased brightness.
Decorative Enhancement Techniques
Transform plain plastic containers through tissue paper collage application. Create a diluted glue mixture (approximately two parts glue to one part water) and use paintbrushes to adhere cut tissue paper shapes to the container exterior. Layering multiple colors and shapes creates depth and visual interest while maintaining the container’s light-transmitting properties.
For handle creation, punch holes in the top corners and secure ribbon or wire through these openings, tying the opposite ends together to form a central hanging point. This configuration distributes weight evenly and prevents stress concentration that could crack the plastic.
Small Container Innovations
Medicine cups, bottle caps, and similar small containers can be assembled into compact lantern systems perfect for intimate lighting applications. Stack various sized plastic lids to create a graduated housing, securing layers with hot glue for permanent assembly. Insert battery-operated tea lights through a carefully cut opening in the base, creating a self-contained lighting unit suitable for tabletop use or small-scale installations.
Water Bottle Optical Systems
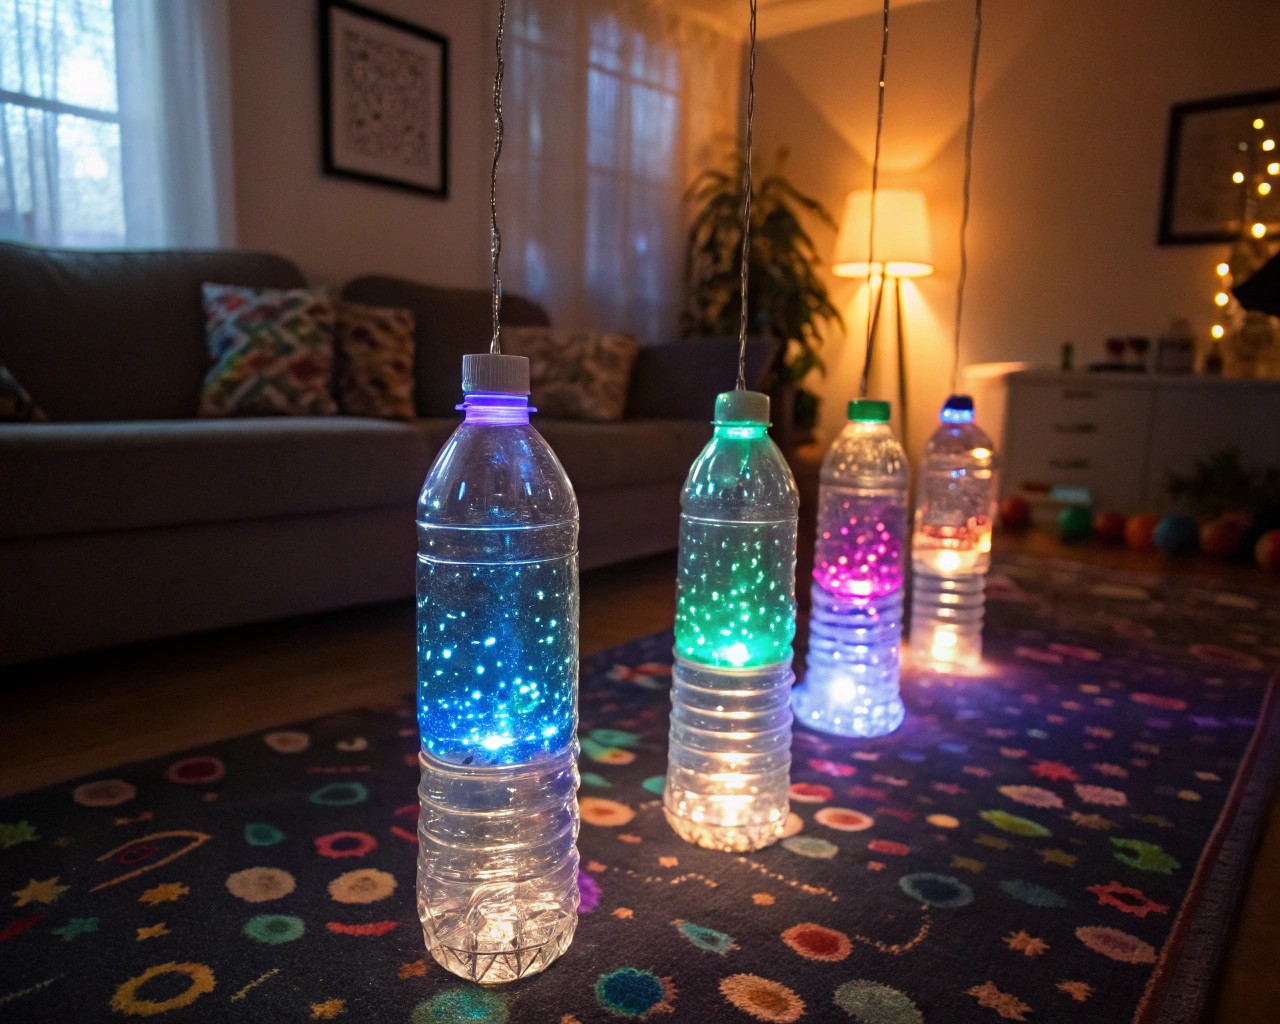
Clear plastic water bottles create fascinating lighting effects through the principle of refraction, dispersing focused light sources into broad, ambient illumination. This approach transforms harsh directional lighting into gentle, area-wide coverage suitable for camping and temporary installations.
Refraction-Based Design Principles
The scientific principle underlying water bottle lanterns involves light refraction at the air-water interface. When light from a focused source (such as a small LED) enters water-filled plastic, the light rays change direction and spread outward, creating omnidirectional illumination from what was originally a directional source.
Construction Methodology
Build a cardboard housing system that positions the light source beneath the water bottle while providing switching access and stability. Create stacked cardboard rings that accommodate your light source, ensuring the assembly height matches or slightly exceeds the light fixture dimensions. Design removable access panels using hook-and-loop fasteners to enable power control without dismantling the entire assembly.
Safety Integration and Best Practices
Electrical Safety Protocols
When incorporating any electrical components into DIY lantern projects, prioritize weather-resistant connections and appropriate voltage management. Use only outdoor-rated cables and connectors, ensuring all electrical joints are properly sealed against moisture intrusion. Distribute lighting loads across multiple circuits to prevent overloading and potential fire hazards.
For battery-operated systems, select weather-resistant battery compartments and consider rechargeable battery systems to reduce long-term operating costs and environmental impact. Position battery compartments in easily accessible locations to facilitate regular maintenance and replacement procedures.
Fire Safety Considerations
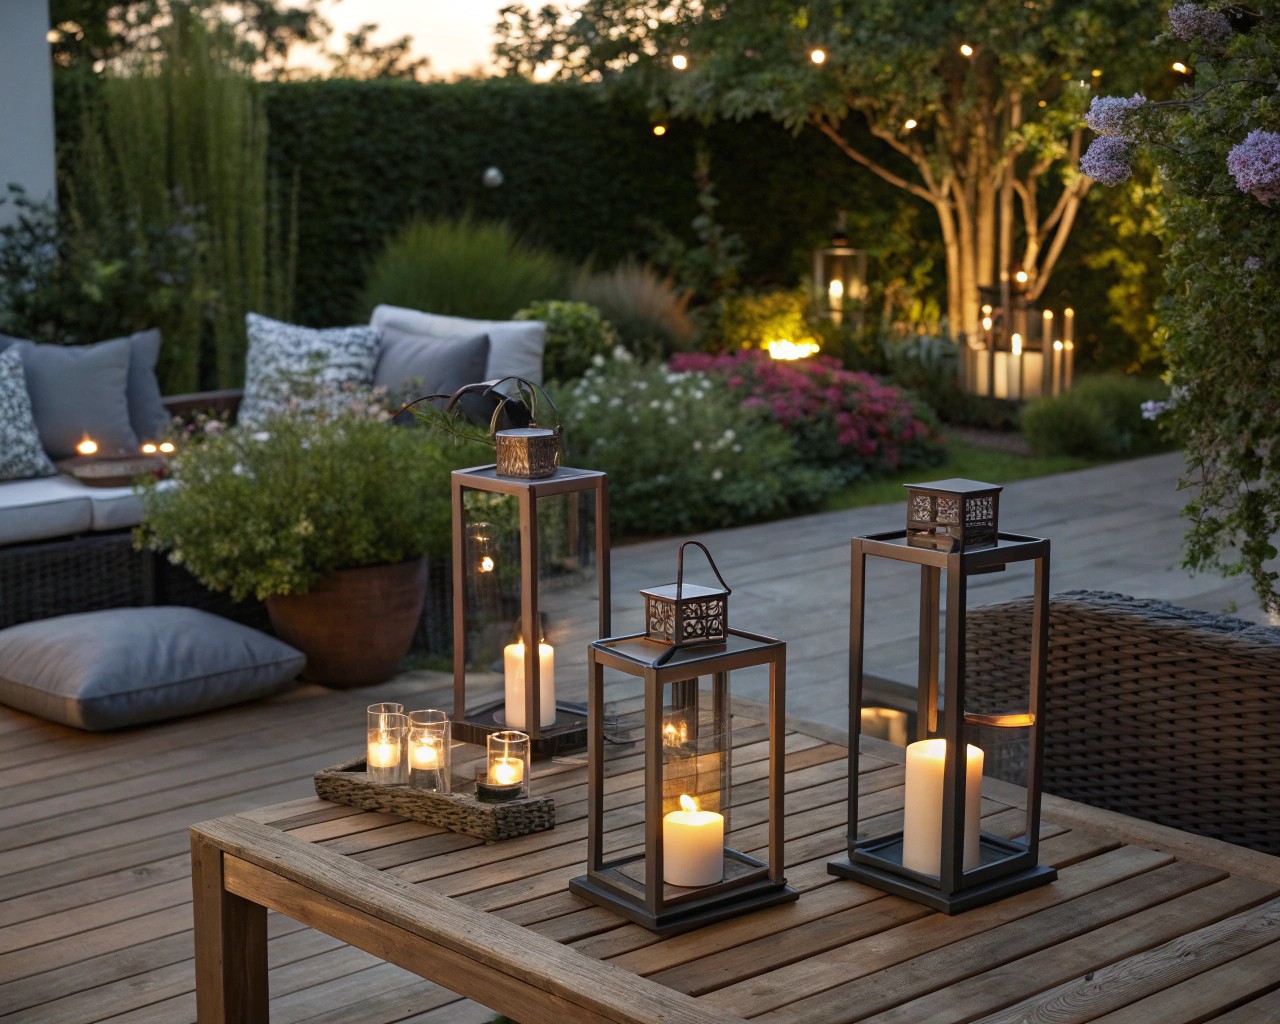
Open flame lanterns require careful placement and material selection to ensure safe operation. Maintain adequate clearance from flammable materials including dried vegetation, fabric furnishings, and wooden structures. Position candle-based lanterns on stable, level surfaces where accidental tipping is unlikely to occur.
Consider the local fire risk conditions in your area, particularly during dry seasons when outdoor fire restrictions may be in effect. Battery-operated LED alternatives provide similar aesthetic effects without the fire risk associated with open flames, making them suitable for high-risk periods or locations.
Structural Stability Requirements
Design all hanging lantern systems with appropriate weight distribution and secure mounting points. Wire gauge selection should exceed the load requirements by a comfortable margin, accounting for potential stress concentration at connection points. For permanent installations, inspect mounting hardware regularly for signs of corrosion or fatigue that could lead to failure.
Test all hanging systems under controlled conditions before final installation, verifying that support structures can handle dynamic loads from wind movement and thermal expansion cycles.
Design Integration Principles
Landscape Lighting Theory
Effective outdoor lighting design follows fundamental principles that balance aesthetic appeal with functional requirements. Apply layered lighting concepts by combining ambient lighting for general illumination, task lighting for specific activities, and accent lighting to highlight focal points or architectural features.
Color Temperature Optimization
Select warm color temperatures (2700-3000K) for most garden applications, as these create inviting, comfortable atmospheres that complement natural evening environments. Cooler temperatures (4000K and above) work well for highlighting architectural features or providing task lighting for specific activities, but should be used sparingly to maintain overall ambiance.
Balance and Harmony Considerations
Avoid over-illumination that destroys the natural balance between light and shadow essential for peaceful evening environments. Strategic placement of moderate lighting creates more dramatic and visually appealing effects than attempting to eliminate all shadows through excessive brightness.
Placement Strategy Development
Pathway and Safety Lighting
Position lanterns to illuminate pathway edges, steps, and potential obstacles without creating glare that impairs night vision. Stagger lantern placement along walkways rather than creating uniform spacing, which can appear institutional and reduce the organic feeling desired in garden settings.
For step illumination, place light sources to highlight the edge of each tread without directing light upward into users’ eyes. This approach improves safety while maintaining comfortable visibility conditions.
Feature and Accent Applications
Use highlighting techniques to showcase garden features, placing spotlights at the base of objects you wish to emphasize. Vary the distance and angle to achieve desired effects—closer placement creates more precise highlighting, while increased distance provides broader coverage.
Consider silhouetting effects by positioning lights behind features and directing them toward nearby walls or surfaces. This technique creates dramatic shadow patterns that add visual interest and depth to evening garden experiences.
Seasonal Adaptation Strategies
Design your DIY lantern systems with seasonal flexibility in mind, allowing for easy reconfiguration as garden conditions and usage patterns change throughout the year. Modular designs enable you to adjust lighting intensity and distribution based on seasonal plant growth, entertainment requirements, and weather considerations.
During winter months, position lanterns to highlight evergreen elements and architectural features that remain visible when deciduous plants lose their leaves. Summer installations can emphasize flowering plants and seating areas where outdoor entertaining activities concentrate.
Advanced Integration Techniques
Smart Control Implementation
Modern outdoor lighting benefits significantly from automated control systems that optimize energy usage while maintaining security and convenience functions. Timer-based controls ensure lights activate only when needed, while motion sensors provide security benefits and energy conservation by illuminating areas only during active use periods.
For DIY lantern systems, consider retrofitting with smart switches that can be controlled via smartphone applications. These systems allow for remote operation, scheduling, and integration with other home automation systems while maintaining the aesthetic appeal of handcrafted fixtures.
Weather Resistance Enhancement
Extend the operational life of DIY lanterns through proper weatherproofing techniques tailored to your local climate conditions. Apply clear protective coatings to metal components to prevent corrosion, ensuring electrical connections remain sealed against moisture intrusion.
For regions with extreme weather conditions, design lantern systems with removable components that can be stored indoors during harsh weather periods. This approach preserves the investment in handcrafted fixtures while avoiding weather-related damage that could create safety hazards.
Maintenance Protocol Development
Establish regular maintenance schedules that address both safety and aesthetic concerns in your DIY lighting installations. Monthly inspections should verify electrical connections remain secure, structural components show no signs of fatigue or corrosion, and light output remains adequate for intended purposes.
Seasonal maintenance procedures should include deep cleaning of glass and plastic components, replacement of consumable items like candles or batteries, and verification that all safety clearances remain adequate as surrounding vegetation grows and changes.
